Preparing Your Bay Area Home for an Interior Paint Job
Excited for a fresh look inside your home? Don’t pick up the roller just yet. Successful interior painting depends heavily on what happens before a single drop of paint hits the wall. Whether you’re hiring professionals or doing it yourself, following a solid Prep for Interior Painting process is essential for clean, smooth, long-lasting results.
This blog outlines a complete Painting Checklist Bay Area residents can use to prepare their homes room by room—and ensure a flawless paint job.
Why Interior Painting Prep Matters
Cutting corners on prep may save time in the short term but will cost you in the long run. Without proper preparation:
Paint may not adhere correctly
Walls may show imperfections and uneven coverage
Finishes may bubble, peel, or chip prematurely
Cleanup becomes more difficult
Bay Area homes, especially those near the coast or with older construction, often have unique challenges like moisture exposure, textured walls, or old paint layers. Smart prep work makes all the difference.
The Complete Painting Checklist Bay Area Homeowners Need
Before you start painting—or let the pros arrive—run through this room-by-room guide:
1. Clear the Area
Remove furniture or move it to the center of the room.
Cover all furnishings with drop cloths or plastic sheets.
Take down curtains, wall art, and décor.
Remove outlet covers, switch plates, and light fixtures if possible.
This step gives your painter—or yourself—room to work and protects your belongings from paint splatter.

2. Protect Floors and Fixtures
Use canvas drop cloths (preferred over plastic) to prevent slipping.
Mask trim, edges, and windows with painter’s tape.
Cover HVAC vents and grilles with plastic wrap or paper.
Tape around ceiling fans, light fixtures, or anything else you can't remove.
This layer of protection is crucial, especially if you're working in tight spaces or near textured ceilings.
3. Clean the Walls
Dust walls from top to bottom with a microfiber cloth or duster.
Wash walls with mild soap and water in kitchens, bathrooms, and high-touch areas.
Let walls dry fully before proceeding.
Grease, dust, and dirt prevent paint from bonding properly. This is especially important in Bay Area homes near busy roads or wildfire-prone zones, where soot and grime may accumulate.
4. Repair and Patch Imperfections
Fill nail holes, small cracks, and dents with spackle.
Sand patches smooth once dry.
Use joint compound for larger repairs or damaged drywall.
Scrape away peeling paint and sand rough edges.
If you skip this step, imperfections will be magnified by your new paint finish—especially under glossy sheens.
5. Prime the Surfaces
Not every project needs primer—but many do. You should prime if:
You're painting over dark or bold colors
Your walls have patches or uneven textures
You’re switching from glossy to matte paint
You're painting raw drywall or unpainted wood
There’s any sign of mildew or water damage
High-quality primer helps your new paint go on smoother and last longer.
6. Address Specific Room Needs
Every room may need slightly different preparation based on use and exposure.
Bathrooms and Kitchens:
Use mold-resistant primer
Focus on cleaning areas around sinks, stoves, and vents
Ensure proper ventilation during and after painting
Children’s Rooms:
Repair dings and crayon marks
Choose washable, durable paints
Move toys and electronics to another room
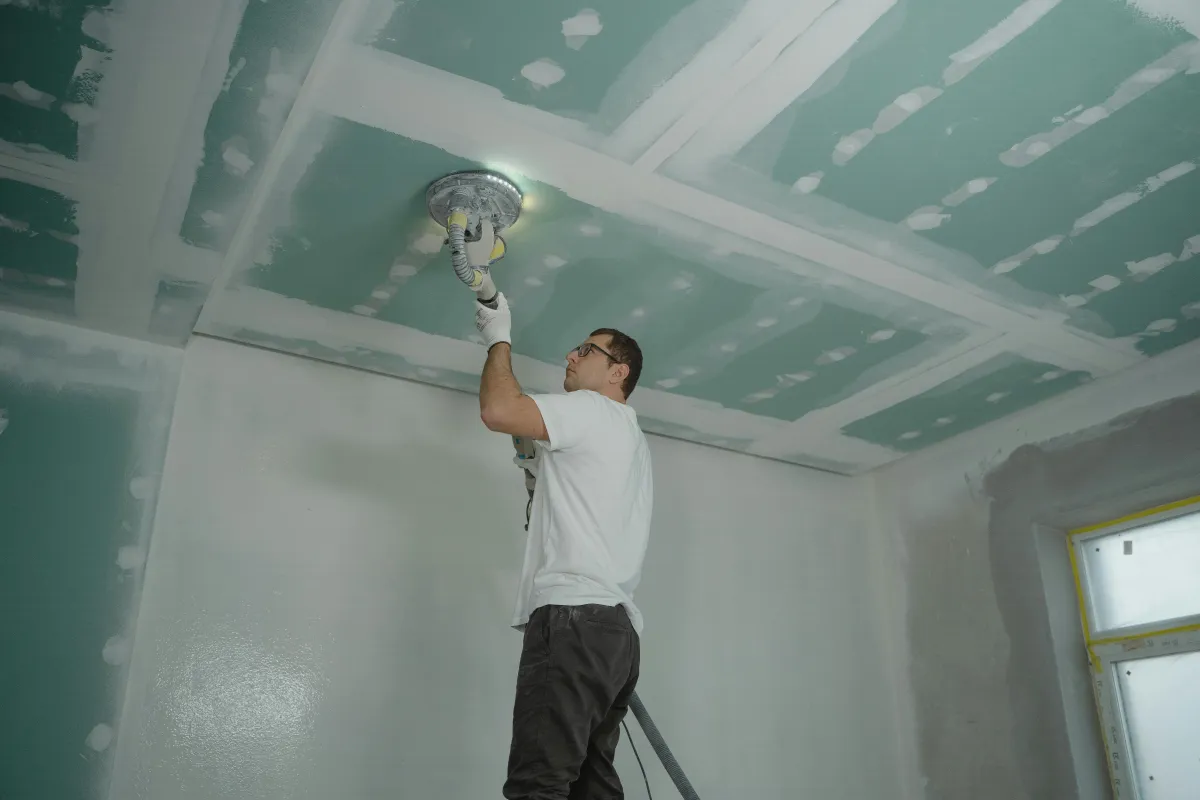
Ceilings:
Remove ceiling cobwebs
Cover ceiling fans completely
Patch water stains and repaint with mildew-resistant flat paint
This detailed Painting Checklist Bay Area homeowners can rely on ensures that nothing gets overlooked—no matter the room.
Pro Tips for a Smoother Interior Painting Project
Label screws and outlet covers in small bags so reinstalling is quick.
Use high-quality painter’s tape and press edges firmly to prevent bleeding.
Let fresh repairs cure properly before painting (usually 24 hours for spackle).
Ventilate the space well with fans or open windows, especially when using oil-based or high-VOC products.
Communicate with your painting contractor ahead of time if you're hiring help—let them know what’s prepped and what’s not.

Should You Do the Prep or Leave It to Pros?
At Bay Area Painters, we’re happy to handle full prep services—from furniture moving to deep wall cleaning—but some clients prefer to take care of the basics themselves to reduce labor costs. We recommend:
DIY Prep if you’re comfortable and have time before painting day.
Pro Prep if your walls have extensive damage, moisture problems, or tricky surfaces like textured ceilings or wood paneling.
Letting us handle your Prep for Interior Painting ensures nothing is missed, and your project stays on schedule.
How Long Does Prep Take?
Depending on room size and condition:
Light prep: 2–4 hours (for clean, recently painted walls)
Moderate prep: 4–8 hours (typical for most homes)
Heavy prep: 1–2 days (for homes with damage, stains, or complex layouts)
Your project timeline will include prep work, but doing some in advance—like removing wall art or wiping down surfaces—can save time on painting day.
The Bay Area Difference
Bay Area homes often require extra prep considerations due to:
Older plaster walls in historic homes
Moisture exposure near coastal areas
Textured drywall in contemporary builds
Eco-conscious material preferences (we offer zero-VOC options!)
Our team at Bay Area Painters is familiar with every type of local home—from San Francisco Victorians to East Bay moderns—and we prep accordingly.
Final Thoughts
Your paint job is only as good as your prep. Skipping steps might not show immediately—but you'll notice the difference in longevity, finish, and overall appearance. By following a smart, professional-grade Painting Checklist Bay Area residents can trust, you’ll ensure the beautiful results you expect from your investment.
Ready for a Perfect Finish?
Let Bay Area Painters take the stress out of the prep and painting process. Whether you want to handle light prep yourself or leave everything to us, we deliver seamless results, start to finish.
Contact Bay Area Painters Now to schedule your in-home consultation and get started on your interior transformation.
